⚖️ Our Verdict on Airtable
Airtable stands out as a versatile cloud-based platform, blending the functionalities of a database with the simplicity of a spreadsheet. It’s an excellent choice for businesses and individuals seeking a flexible solution for data organization, project management, and collaborative work.
Pros & Cons
Pros:
- 🔄 Wide range of customization options.
- 🌐 Seamless integration with various apps and tools.
- 🛠 User-friendly interface with spreadsheet-like functionality.
Cons:
- 💵 Can be pricier than some competitors.
- 🧩 Some features require a learning curve.
- 🔍 Limited advanced database functionalities compared to traditional database systems.
About Airtable
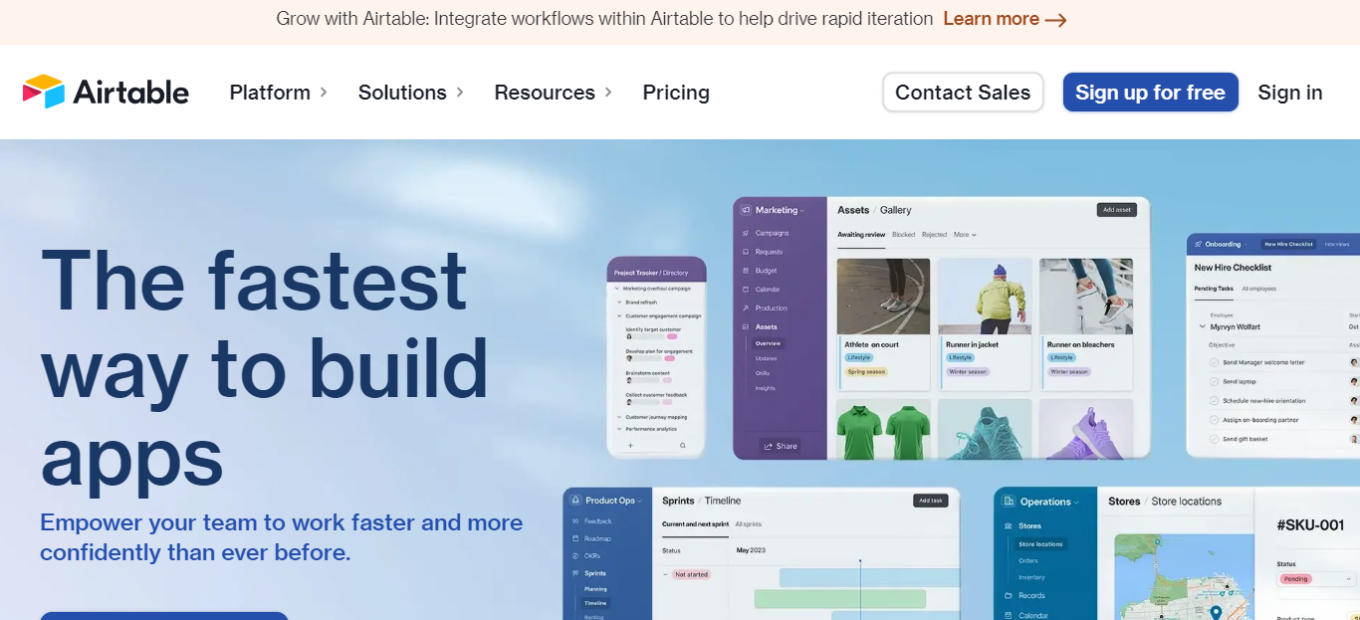
Airtable offers an innovative approach to data management, combining the features of databases and spreadsheets. It’s designed to cater to diverse needs, from content management to event planning, making it a versatile tool for various business and creative applications.
What’s In It For You?
Airtable provides a unique platform that supports project management, data organization, and collaborative work. Its features include customizable views, extensive automation, and robust integration capabilities, enabling teams to streamline their workflows and manage projects more efficiently.
Getting Started with Airtable: A Step-by-Step Guide

Step 1: Sign Up for Airtable
- Visit the Airtable website and click “Get started for free.”
- Sign up with your email, Google, or Apple account.
Step 2: Create Your First Base (Database)
- Once logged in, click “Add a base” and choose a template or start from scratch.
- Customize your base by adding tables, fields, and views.
Step 3: Add and Organize Data
- Open a table and start adding records (data).
- Use fields to structure and categorize your data.
Step 4: Collaborate and Share
- Invite team members to collaborate on your base.
- Set permissions to control who can view or edit data.
- Share views or bases with external collaborators.
Step 5: Explore Advanced Features
LOOKING FOR A ONE-STOP SOLUTION TO YOUR GROWTH NEEDS?
- Discover advanced features like automations and integrations.
- Explore templates and blocks to enhance functionality.
Step 6: Learn and Get Support
- Access Airtable’s learning resources, including guides and webinars.
- Join the Airtable community for tips and insights.
- Contact Airtable support for assistance when needed.
Step 7: Upgrade Your Plan (Optional)
- Consider upgrading to a paid plan for more features and storage.
Now you’re ready to dive into Airtable and tailor it to your specific needs, whether for project management, data organization, or creative collaboration.
Pricing Plans & Support

A pricing page for Airtable, a cloud-based database and collaboration platform, would typically provide information about the various pricing plans they offer. These plans may include details such as:
- Free Plan: Information about a free tier, if available, which usually comes with limited features and storage.
- Paid Plans: Details on different paid subscription tiers, which often include more advanced features, increased storage capacity, and additional functionality.
- Pricing Tiers: The pricing structure, including monthly and annual subscription options, with corresponding costs for each plan.
- Features: A breakdown of the features and capabilities included in each plan, helping users understand what they get at each pricing level.
- User Licenses: Information on the number of users or team members included in each plan and any associated costs for additional users.
- Data and Storage Limits: Details about the amount of data storage available for each plan and any limits on the number of records or items you can create.
- Support and Resources: Information on customer support options, access to help resources, and community forums.
- Payment Options: Accepted payment methods and billing cycles (e.g., monthly or annually).
- Enterprise or Custom Plans: If available, information about tailored plans for larger organizations with specific needs.
- Trial Period: If offered, details about a free trial period during which users can evaluate the service before committing to a paid plan.
Airtable vs. Smartsheet
Airtable Pros:
- 🎨 Intuitive and visually appealing interface.
- 🛠 Highly customizable and flexible for various use cases.
Airtable Cons:
- 💲 Higher cost for more advanced features.
- 🤔 Requires some time to fully utilize its capabilities.
Smartsheet Pros:

- 🔄 Strong project management features.
- 📊 Robust reporting and automation tools.
Smartsheet Cons:
- 🧰 Less intuitive for spreadsheet-based tasks.
- 🖥 Interface may not be as user-friendly as Airtable.
Conclusion
Airtable is a highly effective tool for those seeking a combination of database functionality and spreadsheet ease. Ideal for businesses of all sizes, it enhances collaboration, organization, and workflow efficiency, making it a standout choice in the realm of project and data management tools.
No matter your workflow,
you can build it in Airtable