Overview 🌐
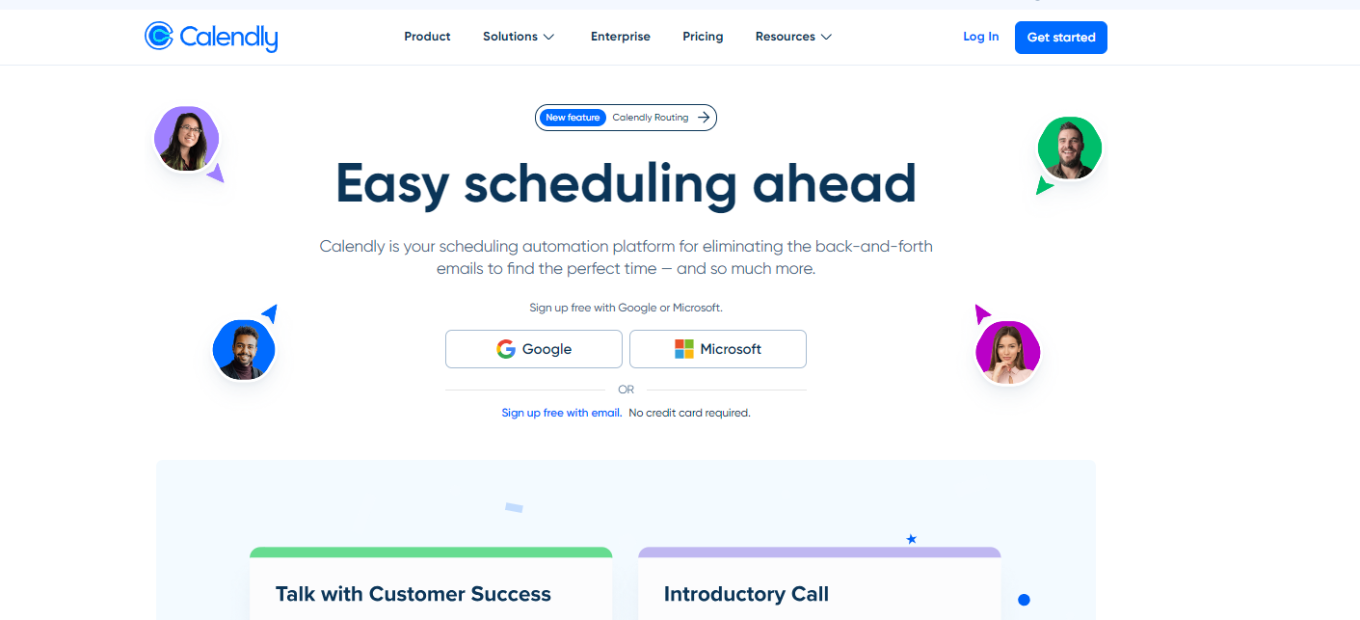
Calendly is a powerful scheduling platform designed to simplify the coordination of meetings and appointments. It effectively eliminates the tedious back-and-forth communication typically associated with arranging meetings. With its user-friendly interface and robust integration with various calendar services, Calendly offers a streamlined scheduling experience.
Key Features 🔑
- Automated Scheduling: Calendly automates the process of finding suitable meeting times by syncing with your calendar.
- Customizable Meeting Types: Users can set up different types of meetings, from one-on-ones to group sessions.
- Time Zone Intelligence: Calendly automatically adjusts for different time zones, ensuring global compatibility.
- Integration with Popular Tools: The platform seamlessly integrates with tools like Google Calendar, Office 365, and Zoom.
Benefits and Use Cases 💡
- Increased Productivity: Reduces time spent on scheduling, allowing more focus on productive tasks.
- Flexibility: Offers flexibility in scheduling, catering to various business needs and personal preferences.
- Improved Professionalism: Streamlines the scheduling process, presenting a professional image to clients and colleagues.
How to Get Started with Calendly

Step 1: Sign Up for an Account 📝
- Create an Account: Visit the Calendly website and sign up. You can use your email address or directly sign up with your Google or Office 365 account.
- Verification: Verify your email if required to activate your account.
Step 2: Set Up Your Calendar 🗓
- Calendar Integration: Connect your preferred calendar (Google, Outlook, Office 365, or iCloud). This sync ensures Calendly knows your availability to avoid double bookings.
- Availability Settings: Define your general availability in the Calendly settings. This schedule will apply to all your event types by default.
Step 3: Create Event Types 🎟
- Add New Event Types: Click on “New Event Type” and choose between a one-on-one or a group event.
- Customize Event Details: Set the event name, duration, and location (in-person, phone call, or video call).
- Advanced Options: Customize additional settings like buffer times, event color, and email notifications.
Step 4: Personalize Your Calendly Link 🔗
- Customize Your Link: Personalize your Calendly URL to make it recognizable and easier to share.
- Link Sharing: Share your Calendly link via email, social media, or embed it on your website.
Step 5: Manage Bookings 📅
- View Appointments: Check your Calendly dashboard to see upcoming meetings.
- Reschedule or Cancel: You can reschedule or cancel appointments directly from the dashboard.
Step 6: Integrate with Other Tools 🔌
- Connect with Other Apps: Use Calendly’s integrations with platforms like Zoom, Salesforce, or Zapier to enhance your scheduling process.
- Automate Workflows: Set up automated workflows for added efficiency, like sending follow-up emails after a booking.
Step 7: Upgrade If Necessary 💳
- Evaluate Your Needs: If you need more features like automated reminders, team scheduling, or analytics, consider upgrading to a premium plan.
- Choose a Plan: Select from Calendly’s various paid plans based on your specific requirements.
Remember, the initial setup process is crucial for ensuring a smooth and efficient use of Calendly. Taking the time to correctly set up your availability, event types, and integrations will save you time and streamline your appointment scheduling in the long run.
Calendly Pricing Overview

Basic Plan (Free) 🆓
- Features: Offers essential scheduling tools suitable for individuals.
- Advantages: Ideal for personal use or testing the platform’s capabilities.
- Limitations: Access to basic features only.
Essentials Plan 💼
- Pricing: Monthly and annual subscription options available.
- Features: Includes more advanced scheduling options and customization.
- Suitability: Best for professionals and small teams requiring more than the basic functionalities.
Professional Plan 🚀
- Pricing: Available on a monthly or annual subscription basis.
- Features: Offers extensive customization and integration capabilities.
- Best For: Ideal for businesses and teams needing comprehensive scheduling solutions.
Teams Plan 👥
- Pricing: Monthly and annual payment options.
- Features: Designed for collaboration within teams, offering centralized billing and admin controls.
- Ideal For: Larger teams and organizations that require shared scheduling and administrative oversight.
Enterprise Plan 🏢
- Features: Tailored for large organizations with specific needs.
- Customization: Offers extensive customization and dedicated support.
- Advantages: Best suited for large enterprises requiring a scalable and secure scheduling solution.
For detailed information on pricing and features, you can visit Calendly Pricing.
Calendly vs. Acuity Scheduling: A Comparative Analysis
Pros of Calendly
User-Friendly Interface 🌟
- Ease of Use: Calendly is known for its intuitive and clean interface, making it easy for both first-time and regular users to navigate.
- Seamless Integration: It integrates smoothly with various calendar types and popular business tools.
Efficient Scheduling 📅
- Automated Time Zone Adjustments: Calendly automatically adjusts for different time zones, simplifying global scheduling.
- Flexible Meeting Types: Allows customization of various meeting types, from individual appointments to group events.
Enhanced Productivity 🚀
- Reduced Scheduling Hassle: By automating the scheduling process, it reduces manual coordination efforts.
- Professional Image: Streamlines the appointment setting process, presenting a polished and professional front.
Cons of Calendly
Limited Features in Free Plan 📉
- Basic Functionality: The free version of Calendly offers limited features compared to its paid versions.
- Restrictions on Customizations: There are fewer customization options available in the free plan.
Lack of Payment Integration 💳
- No Direct Payment Options: In its basic plans, Calendly lacks integration with payment gateways, a feature that can be critical for businesses charging for appointments.
Pros of Acuity Scheduling

Comprehensive Features 📊
- Diverse Functionality: Acuity offers a wide range of features, including appointment scheduling, payment integration, and selling memberships or packages.
- Customizable Booking Experience: Users can tailor their booking pages extensively, matching their brand and specific needs.
Payment Integration 💰
- Direct Payment Processing: Acuity integrates with popular payment platforms like Stripe, PayPal, and Square, facilitating easy billing and payment collection.
Versatile Use Cases 🛠
- Suitable for Various Businesses: Acuity is well-suited for service-based businesses like spas, fitness studios, and consultants who need to manage appointments and accept payments.
Cons of Acuity Scheduling
Complexity in Setup 🤔
- Steep Learning Curve: Some users find the setup process of Acuity Scheduling to be more complex than Calendly, especially when dealing with numerous features.
- Time-Consuming Customization: Extensive customization options, while beneficial, can take time to set up properly.
No Free Version 🚫
- Lack of a Free Plan: Acuity does not offer a free plan, which might be a barrier for individual users or small businesses just starting out.
In summary, Calendly stands out for its user-friendly interface and efficient scheduling capabilities, especially for users looking for a straightforward scheduling tool. On the other hand, Acuity Scheduling offers more comprehensive features and payment integration, making it a better fit for service-based businesses that need more robust booking and payment options.
Final Thoughts and Recommendations ✨
Calendly stands out as a highly efficient and user-friendly scheduling tool. It’s well-suited for professionals and businesses looking to streamline their appointment setting process. Whether you’re a freelancer, a small business owner, or part of a larger organization, Calendly offers a solution to meet your scheduling needs.
“Easy scheduling ahead.”