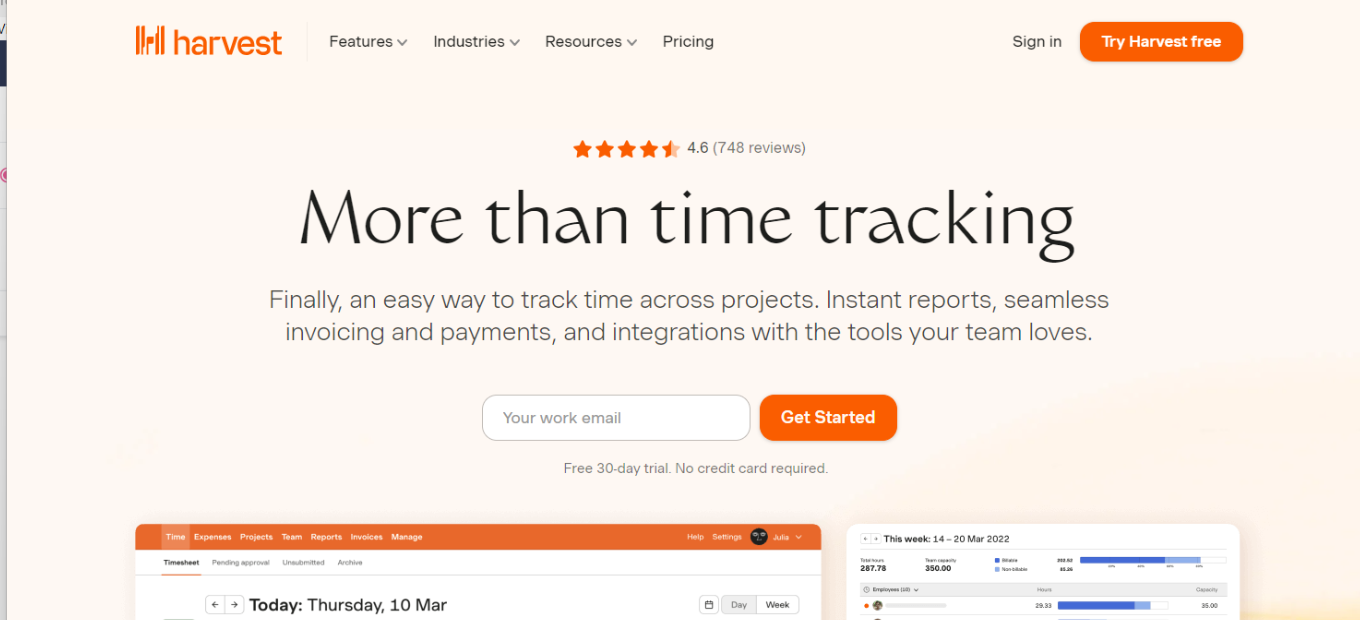
Harvest: Streamlining Time Tracking and Invoicing for Professionals

πŸ† Our Verdict

Harvest stands out as a robust and user-friendly tool for time tracking and invoicing, perfectly suited for freelancers, small businesses, and larger teams looking for an efficient way to manage time and bill clients.

βœ… Pros & ❌ Cons

Pros:

  • πŸ•’ Easy-to-use time tracking interface.
  • πŸ“Š Comprehensive reporting tools.
  • 🧾 Integrated invoicing and project management features.

Cons:

  • πŸ’² Higher cost compared to some free alternatives.
  • πŸ“± Mobile app experience may vary.

πŸ“– About Harvest

Since its inception, Harvest has been a go-to solution for time tracking and invoicing, offering tools that simplify these processes while providing insightful data analytics. Its integration with various project management tools makes it a versatile choice for many businesses.

🎯 What’s In It For You?

Harvest offers a seamless experience in tracking work hours, managing projects, and creating invoices. Its simple interface, coupled with powerful reporting, makes it a valuable tool for both individual freelancers and larger teams.

πŸš€ How It Works

  1. Sign Up for Harvest: Visit Harvest’s website and sign up for an account. You can choose between their free plan or the Pro plan based on your needs.
  2. Set Up Your Account: After signing up, fill in your details to set up your account. This includes your business information and preferences.
  3. Create Your First Project: In your dashboard, start by creating a new project. Assign it a name, client, and set the project’s timeframe and budget.
  4. Add Tasks and Team Members: Break down your project into specific tasks. You can also add team members to the project and assign tasks to them.
  5. Start Tracking Time: Use the Harvest timer to track time spent on each task. You can do this via the web app, desktop app, or mobile app.
  6. Generate Reports: Use Harvest’s reporting features to get insights into project progress, tracked time, and budget expenditure.
  7. Invoice Clients: Convert your tracked time and expenses into invoices directly within Harvest. You can then send these invoices to your clients.
  8. Integrate with Other Tools: Connect Harvest with other tools like project management or accounting software for a more streamlined workflow.
  9. Explore Additional Features: Dive into additional features like expense tracking, timesheet approval, and more to fully leverage Harvest’s capabilities.
  10. Use Harvest’s Resources: Benefit from Harvest’s range of guides and customer support for any help you need in getting started or making the most out of the platform.

πŸ’² Harvest Pricing Overview

Harvest offers two main pricing plans:

  • Free Plan: Suitable for individuals or teams just starting out. It includes limited access to Harvest’s features, allowing for tracking of time and limited invoices.
  • Pro Plan: Designed for businesses needing more robust functionality. This plan includes unlimited access to all of Harvest’s features, including time tracking, invoicing, and advanced reporting.

Both plans offer access to Harvest’s core time tracking and invoicing features, with the Pro Plan providing more comprehensive tools for larger teams or more complex projects.

πŸ₯Š Competition

Harvest Pros:

  • Integrated invoicing and project management.
  • Comprehensive reporting features.
  • User-friendly interface for time tracking.

Harvest Cons:

  • Limited free plan compared to Toggl Track.
  • Potentially higher cost for advanced features.

Toggl Track Pros:

  • User-friendly and simple interface.
  • Robust free version available.
  • Flexible time tracking options.

Toggl Track Cons:

  • Less focus on invoicing and project management.
  • Reporting might not be as comprehensive as Harvest.

These comparisons highlight Harvest’s strengths in invoicing and project management, while Toggl Track offers a more straightforward time tracking experience with a strong free version.

πŸ“Œ Conclusion

Harvest is an essential tool for professionals seeking an effective solution for time tracking and invoicing, especially for those who value simplicity and comprehensive reporting in one platform.

“Time tracking and invoicing for those who value their time.”
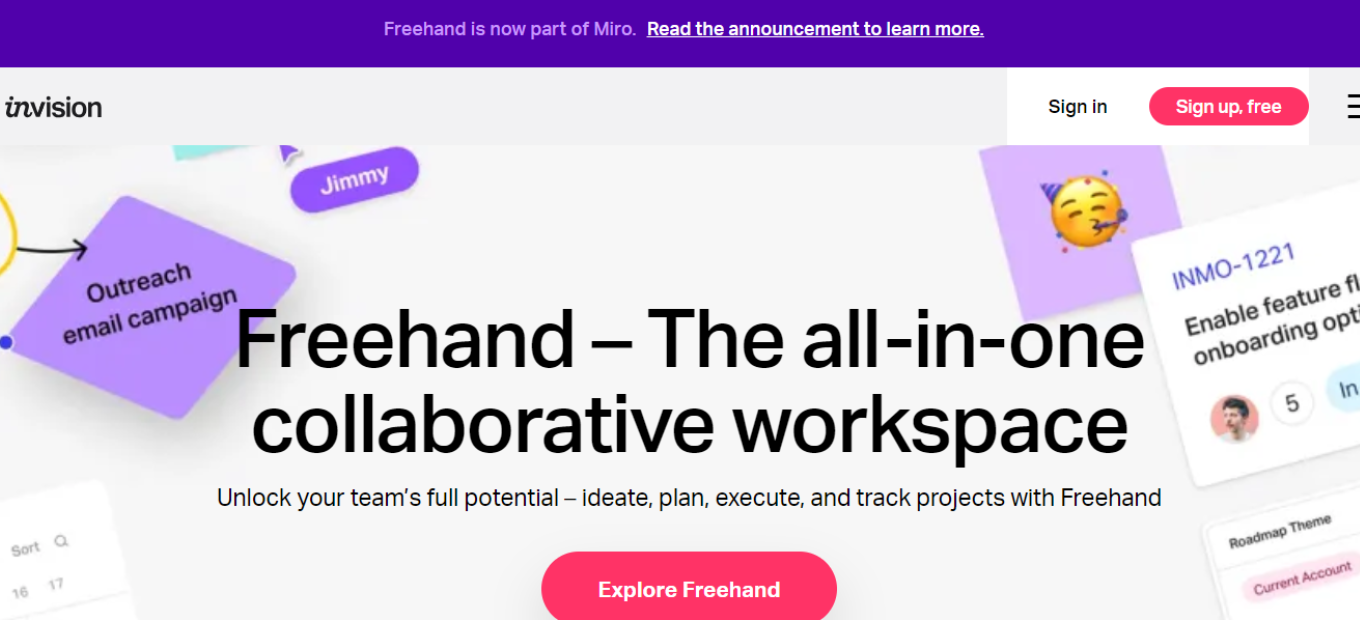
InVision: Revolutionizing Digital Product Design

πŸ† Our Verdict

InVision stands out as a versatile digital product design platform, perfect for teams seeking to enhance collaboration and streamline their design process. Its array of tools for prototyping, workflow management, and real-time feedback positions it as a leader in the digital design space.

βœ… Pros & ❌ Cons

Pros:

  • 🌐 Comprehensive prototyping and animation tools.
  • πŸ‘₯ Strong focus on team collaboration and workflow management.
  • πŸ”„ Integration with various design tools and software.

Cons:

  • πŸ“Ά May require stronger internet connectivity for collaboration features.
  • πŸ–₯️ Faced with strong competition from platform-agnostic tools like Figma.

πŸ“– About InVision

Founded with the vision to empower designers, InVision has become a key player in the digital product design industry. Offering a cloud-based platform, it facilitates efficient prototyping, collaboration, and workflow management for design teams globally.

🎯 What’s In It For You?

InVision offers a centralized platform for designing, prototyping, and collaborating on digital products. Its tools cater to designers, project managers, and stakeholders alike, ensuring a cohesive and efficient design process.

πŸš€ How It Works

  1. Sign Up for InVision: Visit InVision’s website and sign up for an account. You can start with a free plan or choose a plan that suits your needs.
  2. Download InVision Studio (Optional): While InVision offers web-based tools, for a more integrated experience, you can download InVision Studio, their desktop application for macOS and Windows.
  3. Explore InVision Dashboard: Familiarize yourself with the InVision dashboard. This is where you can manage your projects, collaborate with your team, and access various InVision tools.
  4. Create a New Project: Start a new project by clicking the β€˜Create’ button. You can choose to start from scratch or use one of the many templates available.
  5. Design and Prototype: Use InVision Studio or the web-based platform to design your screens. Add interactions and animations to transform your static screens into clickable prototypes.
  6. Invite Collaborators: Collaborate with your team by inviting them to join your InVision workspace. You can share designs, gather feedback, and iterate rapidly.
  7. Use InVision’s Freehand: Explore Freehand, a digital whiteboard, for brainstorming sessions, wireframing, or presenting ideas. It’s a great tool for collaborative real-time designing.
  8. Integrate with Other Tools: Integrate InVision with other tools like Slack, JIRA, Trello, etc., for a more streamlined workflow.
  9. Participate in the Community: Engage with InVision’s community for additional support, insights, and inspiration.
  10. Practice and Explore: The best way to learn InVision is through regular use and exploration of its features. Experiment with different tools and functionalities to enhance your design skills.

πŸ’² InVision Pricing Overview

InVision offers various pricing plans, each designed to cater to different user needs and team sizes. The pricing details are as follows:

  • Free Plan: Ideal for individuals and small teams just getting started. It typically includes basic features such as limited prototypes and limited access to collaboration tools.
  • Professional Plan: Targeted at professional designers and small teams. This plan often includes more advanced features like unlimited prototypes, more collaborative tools, and advanced project management features.
  • Team Plan: Designed for mid-sized teams, offering additional collaboration features and higher limits on prototypes and projects. This plan may also include enhanced team management tools.
  • Enterprise Plan: Suited for large organizations requiring comprehensive collaboration, security, and workflow features. This plan often includes advanced security measures, custom user roles, and dedicated support.
  • Education Plan: InVision offers special pricing or free access for students and educators, providing the necessary tools for educational purposes.

πŸ₯Š Competition

InVision Pros:

  • Comprehensive tool for prototyping and animation.
  • Strong focus on team collaboration and project management.
  • Useful digital whiteboard feature with Freehand.

InVision Cons:

  • Can be less intuitive for new users compared to Figma.
  • Limited design capabilities within the platform itself.

Figma Pros:

  • Real-time collaboration in a web-based environment.
  • User-friendly interface suitable for both beginners and professionals.
  • Extensive plugin ecosystem and community support.

Figma Cons:

  • Reliance on internet connectivity for optimal functionality.
  • May have a learning curve for users transitioning from traditional desktop applications.

These comparisons highlight InVision’s strengths in prototyping and team collaboration, while Figma excels in its user-friendly, collaborative design environment.

πŸ“Œ Conclusion

InVision is an essential tool for modern digital design teams, offering comprehensive solutions for prototyping and collaboration. While facing stiff competition from tools like Figma, it continues to be a valuable asset for efficient digital product design.

“Design Better. Faster. Together.”

Figma: Transforming Digital Design Collaboration

πŸ† Our Verdict

Figma emerges as a revolutionary web-based UI/UX design tool, essential for teams seeking seamless collaboration and advanced prototyping. Its platform-agnostic approach and comprehensive feature set make it a favorite in the digital design community.

βœ… Pros & ❌ Cons

Pros:

  • 🌐 Web-based platform for universal access.
  • πŸ‘₯ Real-time collaboration capabilities.
  • πŸ› οΈ Advanced prototyping and animation tools.

Cons:

  • πŸ“Ά Dependence on internet connectivity.
  • πŸ–₯️ May lack the responsiveness of desktop applications.

πŸ“– About Figma

Founded in 2012, Figma took the digital design world by storm by offering a fully-featured, browser-based UI/UX design tool. Figma facilitates a collaborative environment for design teams, streamlining the design process from ideation to prototype.

🎯 What’s In It For You?

Figma offers an inclusive design platform with tools for vector editing, prototyping, and real-time collaboration, making it ideal for design teams and individual professionals in UI/UX and graphic design.

πŸš€ How It Works

  1. Sign Up for Figma: Visit Figma’s website and sign up for a free account. You can use your email address or directly sign in with a Google account.
  2. Download Figma App (Optional): While Figma is primarily web-based, you can download a desktop app for macOS or Windows for a smoother experience.
  3. Explore the Interface: Once logged in, take some time to familiarize yourself with the Figma interface. You’ll find various tools and features on the left-hand side, a canvas in the center, and property panels on the right.
  4. Start a New Project: Click on the ‘New File’ button to start a new design project. You can choose from various templates or start with a blank canvas.
  5. Learn Basic Tools: Learn how to use basic tools like shapes, text, and images. Figma’s interface is user-friendly, making it easy to explore and experiment with different design elements.
  6. Try Prototyping: Explore Figma’s prototyping features to create interactive designs. You can link different frames and add interactions to simulate how your design would work in a real-world application.
  7. Invite Team Members: If you’re working in a team, invite your colleagues to collaborate. Figma allows multiple people to work on the same project simultaneously.
  8. Use Figma Community: Access the Figma community for templates, plugins, and inspiration. You can use community-created assets to enhance your designs.
  9. Practice and Explore: The best way to learn Figma is by practicing. Start with small projects, experiment with different features, and gradually take on more complex designs.

For more information, visit Figma’s official website.

πŸ’² Figma Pricing Overview

  • Starter (Free): Includes 3 Figma and FigJam files, unlimited personal files, collaborators, plugins, templates, and mobile app access.
  • Professional ($12/editor/month): Billed annually or $15 month-to-month. Offers everything in Starter plus unlimited Figma files, version history, team libraries, and advanced prototyping. Free for students and educators.
  • Organization ($45/editor/month): Annual billing only. Adds design system analytics, branching, centralized file management, and single sign-on to Professional features.
  • Enterprise ($75/editor/month): Annual billing only. Expands on Organization features with dedicated workspaces, advanced design systems, guest access controls, and comprehensive support.

πŸ₯Š Competition

Figma Pros:

  • Web-based, accessible on multiple platforms.
  • Real-time collaboration features.
  • Strong community and plugin ecosystem.

Figma Cons:

  • May require stronger internet connectivity.
  • Limited offline capabilities.

Adobe XD Pros:

  • Seamless integration with Adobe Creative Cloud.
  • Strong prototyping and animation tools.
  • Offline functionality and performance.

Adobe XD Cons:

  • Less focused on real-time collaboration.
  • Limited third-party integrations compared to Figma.

These comparisons highlight Figma’s strength in collaboration and platform accessibility, while Adobe XD excels in integration with other Adobe tools and offline capabilities.

πŸ“Œ Conclusion

Figma is a standout choice for web-based UI/UX design, offering unparalleled collaboration tools and flexibility. It is particularly beneficial for teams and designers seeking an efficient and inclusive design platform.

“A better way to design.”

Sketch: Revolutionizing Digital Design on macOS

πŸ† Our Verdict

Sketch stands out as a premier tool for vector graphics and UI/UX design, exclusively on macOS. Its intuitive interface and advanced features make it a top choice for professionals in the digital design industry.

βœ… Pros & ❌ Cons

Pros:

  • Innovative vector editing capabilities.
  • Optimized for macOS, offering smooth performance.
  • Sketch Cloud enhances collaboration.

Cons:

  • Only available on macOS, limiting accessibility.
  • Lacks some advanced prototyping features.

πŸ“– About Sketch

Sketch, established in 2010, has become a key player in the digital design realm, offering a comprehensive toolkit for macOS users focused on UI/UX and graphic design.

🎯 What’s In It For You?

Sketch provides a seamless design experience with tools tailored for vector editing, UI elements creation, and efficient design workflow, making it ideal for professionals in the digital design space.

πŸš€ How To Get Started with Sketch

  1. Download Sketch: Visit the Sketch website and download the app for macOS.
  2. Install the App: Open the downloaded file and follow the instructions to install Sketch on your Mac.
  3. Create an Account: Register for a Sketch account to access all features, including Sketch Cloud.
  4. Explore Tutorials: Utilize Sketch’s resources and tutorials to familiarize yourself with its tools and interface.
  5. Start a New Project: Open Sketch and begin a new project, experimenting with its vector tools and design capabilities.
  6. Use Sketch Cloud: Save and share your work on Sketch Cloud for collaboration and feedback.
  7. Explore Plugins: Enhance your workflow by exploring and installing various Sketch plugins.
  8. Join the Community: Engage with the Sketch community for tips, inspiration, and support.

πŸ’² Sketch Pricing Overview

Sketch offers several pricing options:

  • Standard Subscription: $10/month (billed yearly) or $12/month. Includes Mac app, collaboration features, and web app access.
  • Mac-Only License: $120 per seat. Offers the native app and a year of updates, without collaboration features and web app access.
  • Business Subscription: $20/month per editor (billed yearly). Ideal for larger teams, includes Single Sign-On and unlimited storage.
  • Education Offer: Special pricing for students and teachers.

πŸ₯ŠΒ Competition

Sketch Pros:

  • Optimized for macOS, offering smooth integration and performance.
  • Powerful vector editing tools tailored for graphic and UI design.
  • Efficient symbol and layer management system.

Sketch Cons:

  • Limited to macOS, restricting cross-platform accessibility.
  • Lacks some advanced prototyping features found in competitors.

Figma Pros:

  • Web-based platform, accessible on multiple operating systems, including Windows and Mac.
  • Real-time collaboration features for team projects.
  • Includes advanced prototyping and animation tools.

Figma Cons:

  • Being browser-based, it might be less responsive than native apps in some scenarios.
  • Some users may prefer the interface and workflow of traditional desktop applications like Sketch.

πŸ“Œ Conclusion

Sketch is a powerful tool for macOS users in the digital design domain, offering advanced features for UI/UX design. While it’s exclusive to macOS, its capabilities make it a popular choice among professionals.

“Sketch is where great design happens.”

DocuSign: Revolutionizing Digital Document Management

Our Verdict 🌟

DocuSign stands out as a transformative force in the realm of electronic signatures and document management, offering innovative solutions that cater to a digital-first business environment.

βœ… Pros & ❌ Cons

Pros:

  • Ease of Use: Intuitive interface streamlining the e-signature process.
  • Robust Security: Top-tier security and compliance measures.
  • Versatile Integration: Seamless compatibility with various platforms.
  • Global Reach: Widely accepted in international legal frameworks.

Cons:

  • Pricing Structure: Higher-tier features can be costly.
  • Feature Complexity: Certain advanced features may require a learning curve.

About DocuSign πŸ“Š

DocuSign’s electronic signature technology has become a cornerstone for businesses transitioning to digital operations, providing tools for efficient and secure online document handling.

What’s In It For You? 🎯

DocuSign is an essential tool for companies aiming to digitize their document workflows, offering solutions that span from small businesses to large enterprises.

How It Works πŸ› 

  1. Setup and Integration: Streamlined onboarding with multiple integration options.
  2. Document Lifecycle Management: Comprehensive tools for creating, sending, signing, and storing documents.
  3. Collaboration and Tracking: Features for real-time collaboration and tracking document status.

DocuSign Pricing Overview πŸ’°

DocuSign offers a range of pricing tiers to accommodate various business needs:

  • Personal Plan: For individuals, providing basic e-signature capabilities.
  • Standard Plan: Geared towards small businesses, with additional features like templates.
  • Business Pro Plan: Offers advanced functionality like document analytics, bulk sending, and advanced fields for mid-sized businesses.
  • Advanced Solutions: Customized pricing for large enterprises with specific needs.

Each tier is designed to provide a different level of service, from basic e-signing to comprehensive, enterprise-grade solutions.

Competition πŸ†

In-Depth Comparison with Adobe Sign:

DocuSign Pros:

  • Ease of Use: DocuSign is known for its user-friendly interface, making it easy for users to navigate and complete the e-signature process quickly.
  • Security: It employs top-tier security measures and compliance standards, ensuring the safe handling of sensitive documents.
  • Versatile Integration: DocuSign seamlessly integrates with a wide range of platforms and business applications, making it adaptable to various workflows.
  • Global Reach: DocuSign is widely accepted internationally, providing legal validity and compliance in multiple countries.

DocuSign Cons:

  • Pricing Structure: While DocuSign offers a range of pricing plans, some of its advanced features can be costly, which may not be suitable for budget-conscious users.
  • Feature Complexity: Certain advanced features may have a learning curve for users who are new to electronic signature solutions.

Adobe Sign Pros:

  • Integration with Adobe Suite: Adobe Sign integrates seamlessly with Adobe’s extensive suite of products, offering deep integration and compatibility.
  • Document Creation: Adobe Sign provides robust tools for document creation and editing, making it a comprehensive solution for document management.
  • Brand Recognition: Adobe is a globally recognized brand, which may instill confidence in users.

Adobe Sign Cons:

  • Learning Curve: Adobe Sign’s extensive features and options can be overwhelming for new users, requiring time to fully master.
  • Pricing: Similar to DocuSign, Adobe Sign can be expensive for businesses that require full access to advanced features.

Both DocuSign and Adobe Sign are excellent electronic signature solutions, and the choice between them often depends on specific business needs, familiarity with the Adobe suite, and budget considerations.

Conclusion 🎬

DocuSign represents a significant advancement in the digital transformation of businesses, providing a secure, efficient, and user-friendly platform for managing the lifecycle of documents in the modern world.

“Embrace the Future of Document Management with DocuSign.”

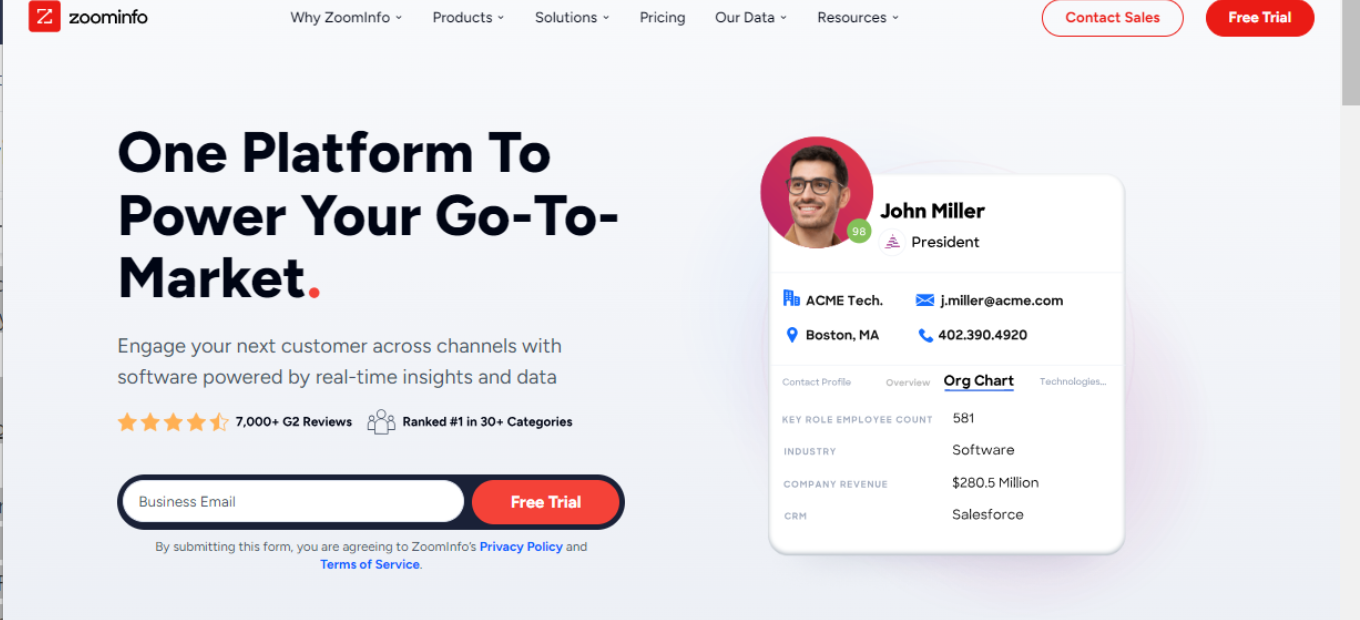
ZoomInfo: Revolutionizing Business Intelligence for Growth

Our Verdict 🌟

ZoomInfo stands out as a leader in business intelligence, offering unparalleled access to detailed B2B data and analytics. It’s a vital tool for businesses aiming to refine their sales strategies and market understanding.

βœ… Pros & ❌ Cons

Pros:

  • Robust Database: Vast collection of B2B contacts and company information.
  • Targeted Tools: Advanced features for segmenting and targeting leads.
  • Integration Ease: Smoothly integrates with numerous CRM and marketing platforms.
  • Customization Options: Offers tailored solutions to fit specific business requirements.

Cons:

  • Premium Cost: Higher-tier features come at a premium price.
  • Learning Curve: May present a steep learning curve for beginners.

About ZoomInfo πŸ“Š

ZoomInfo is renowned for its rich database and analytics tools, helping businesses gain a competitive edge in market research, lead generation, and sales strategy formulation.

What’s In It For You? 🎯

ZoomInfo caters to companies seeking deep market insights and effective lead generation strategies. It’s particularly beneficial for sales and marketing teams in need of accurate and actionable business intelligence.

How It Works πŸ› 

  1. Registration Process: Simple and straightforward sign-up.
  2. Database Exploration: Access a comprehensive database of contacts and companies.
  3. Tool Integration: Easily integrate with existing sales and marketing tools.
  4. Personalized Solutions: Customizable options to match business needs.

ZoomInfo Pricing Overview πŸ’°

ZoomInfo offers diverse packages for its data-driven solutions and applications.

  • Business Email: Custom pricing for accurate email addresses, direct phone numbers, and company insights.
  • SalesOS: Packages to enhance the sales process, including company insights, engagement apps, and integration features.
  • MarketingOS: Solutions for digital marketing, including contact data, advertising tools, and integrations for website chat and form management.
  • TalentOS: Tailored for talent acquisition, offering advanced candidate search, sourcing intelligence, and engagement tools.

Each service is designed to optimize different business functions, from sales and marketing to talent acquisition.

Competition πŸ†

In Comparison to LinkedIn:

ZoomInfo Pros:

  • Extensive B2B data and analytics.
  • Detailed company and contact information.
  • Targeted lead generation tools.

ZoomInfo Cons:

  • Premium pricing for full features.
  • Complex interface for new users.

LinkedIn Pros:

  • Broad professional networking platform.
  • Recruitment and job search capabilities.
  • Wide user base for diverse connections.

LinkedIn Cons:

  • General data may lack business-specific depth.
  • Networking focus over targeted B2B insights.

ZoomInfo is ideal for detailed B2B insights and targeted sales strategies, while LinkedIn excels in professional networking and recruitment.

Conclusion 🎬

ZoomInfo is not just a tool but a strategic partner for businesses seeking to enhance their market presence and sales efficacy through data-driven insights.

“Empower Your Business Strategy with ZoomInfo.”

Typeform: Reinventing Online Forms and Surveys

Our Verdict 🌟

Typeform stands out in the online survey and form-building landscape with its unique blend of aesthetics and interactivity. It excels in creating forms that are not just functional but also visually engaging, making the data collection process more enjoyable for respondents.

βœ… Pros & ❌ Cons

Pros:

  • User Engagement: Interactive elements keep respondents engaged.
  • High Customizability: Extensive design options to match your brand.
  • Seamless Integrations: Integrates with a variety of platforms, enhancing workflow efficiency.

Cons:

  • Cost Factor: Higher-tier plans can be expensive for small businesses.
  • Analytics Depth: Lacks the advanced analytical capabilities of some rivals, like SurveyMonkey.

About Typeform πŸ“Š

Launched with the vision of changing how people collect data online, Typeform has revolutionized form creation with its emphasis on design and user experience. It caters to a wide range of users, from individual creators to large enterprises.

What’s In It For You? 🎯

Typeform’s strength lies in its ability to turn mundane data collection into a conversational and visually appealing experience. Whether you are conducting market research, gathering customer feedback, or creating quizzes, Typeform offers an engaging alternative to traditional forms.

How It Works πŸ› 

Building Your Form

  1. Sign Up: Create an account on Typeform’s website.
  2. Choose a Template: Select from a wide range of templates or start from scratch.
  3. Customize Your Form: Add questions, choose design elements, and customize the layout.
  4. Set Up Logic Jumps: (Optional) Add logic jumps to make your form interactive.
  5. Distribute: Share your form via email, link, or embed it on your website.
  6. Analyze Responses: Collect and analyze the responses from your dashboard.

This process enables you to create engaging, user-friendly forms or surveys tailored to your needs.

Insights and Analytics

  • Data Overview: Basic yet intuitive analytics to understand your audience better.

Typeform Pricing Overview πŸ’°

Typeform offers a variety of pricing plans, each designed to cater to different requirements:

  • Basic Plan ($25/mo, billed yearly): Ideal for simple form creation with basic features.
  • Plus Plan ($50/mo, billed yearly): Enhanced branding and customization options for growing businesses.
  • Business Plan ($83/mo, billed yearly): Advanced analytics and support for established businesses.
  • Enterprise Plan: Customizable solutions for large-scale organizational needs.

Each plan escalates in features, from basic form creation to comprehensive enterprise solutions.

Competition πŸ†

Typeform vs. SurveyMonkey:

Typeform Pros:

  • Interactive, engaging form design.
  • High customization for aesthetics.
  • User-friendly interface.

Typeform Cons:

  • Limited in advanced analytics.
  • Higher pricing tiers for premium features.

SurveyMonkey Pros:

  • Robust data analysis tools.
  • Wide range of question types.
  • Extensive integration options.

SurveyMonkey Cons:

  • Less focus on form aesthetics.
  • Can be overwhelming for beginners.

Typeform is ideal for visually engaging, interactive forms, whereas SurveyMonkey offers comprehensive data analysis and a broader range of survey functionalities.

Conclusion 🎬

Typeform is more than just a form builder; it’s a tool that transforms the way we interact with audiences online. Its focus on design and user engagement makes it a standout choice for anyone looking to create forms and surveys that are as enjoyable to complete as they are to create.

“People-Friendly Forms and Surveys.”

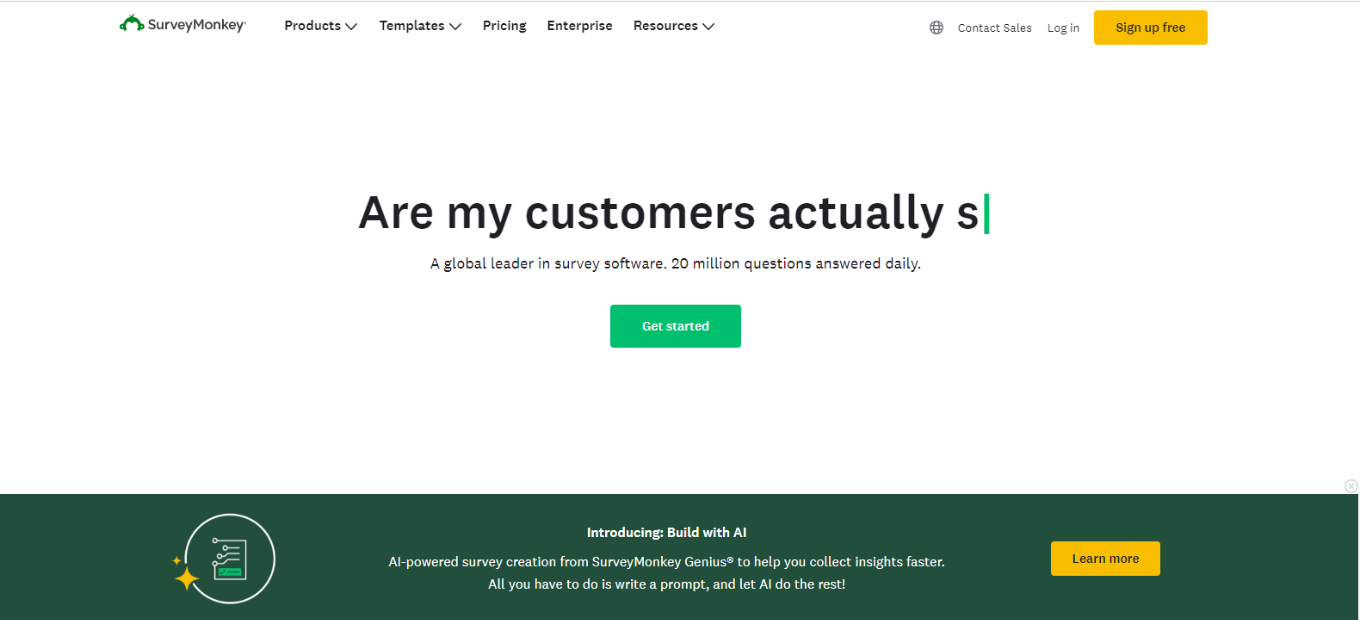
SurveyMonkey: Your Go-To Tool for Surveys and Market Research

Our Verdict 🌟

SurveyMonkey shines as a versatile and user-friendly online survey tool, perfect for businesses, academics, and individuals seeking insights through well-structured surveys and market research. Its ease of design and wide range of question types cater to various data collection needs.

βœ… Pros & ❌ Cons

Pros:

  • Intuitive Design: Easy to create and distribute surveys.
  • Diverse Question Types: Offers a variety of question formats.
  • Powerful Analysis Tools: In-depth data analysis features.
  • Integration Capabilities: Seamlessly integrates with various platforms.

Cons:

  • Cost Factor: Premium features can be expensive.
  • Limited Customization: In free and lower-tier plans.
  • Overwhelming Options: Can be complex for new users.

About SurveyMonkey πŸ“Š

Founded in 1999, SurveyMonkey has become a leading tool in online surveys, offering solutions for businesses, educational institutions, and individuals to gather and analyze data efficiently.

What’s In It For You? 🎯

SurveyMonkey provides a comprehensive set of tools for creating, distributing, and analyzing surveys, making it an ideal choice for market research, customer feedback, and academic research.

How It Works πŸ› 

Creating a Survey

  1. Sign Up: Register on SurveyMonkey’s website.
  2. Choose a Template: Select from various survey templates or create your own.
  3. Customize Your Survey: Add questions, change layouts, and personalize.
  4. Distribute: Share your survey via email, social media, or embed on a website.

Analyzing Results

  • View Responses: Check real-time responses and data.
  • Use Analytics Tools: Analyze data with built-in tools for insights.

SurveyMonkey Pricing Plans: Choose What Works for You πŸ’°

Overview of Plans 🌟

Team Plans 🏒

  • Team Advantage: β‚±920/user/month, 50,000 responses/year, essential collaboration tools.
  • Team Premier: β‚±2,275/user/month, 100,000 responses/year, advanced features.

Individual Plans πŸ§‘

  • Similar core features as Team plans but tailored for solo use.

Enterprise 🌐

  • Custom pricing, unlimited surveys and questions, enhanced support and security.

Key Features Across All Plans πŸ”‘

  • Collaboration: Survey sharing, comments, response notifications.
  • Integration: Works with popular collaboration apps.
  • Support: Ranges from email to phone support.
  • Customization: Custom logo, colors, URL, and skip logic.
  • Analytics: Advanced features, benchmarks, data visualization.

Enterprise Exclusive Features πŸš€

  • Advanced Collaboration: More extensive tools for team collaboration.
  • Enhanced Security: Includes HIPAA compliance, SSO, audit logs.
  • Dedicated Support: Access to a customer success manager.

Whether you’re part of a team, an individual, or a large enterprise, SurveyMonkey offers a range of plans to fit different survey and analysis needs.

Competition πŸ†

Compared to Qualtrics

βœ… Pros

  • User-Friendly: More intuitive for beginners.
  • Affordable Plans: More accessible for small businesses and individuals.

❌ Cons

  • Less Advanced Analytics: Qualtrics offers more depth in data analysis.
  • Fewer Customization Options: Qualtrics provides more flexibility.

Conclusion 🎬

SurveyMonkey stands out for its ease of use, diverse question types, and robust analysis tools, catering to a wide range of survey needs.

“Empower Your Insights with SurveyMonkey.”

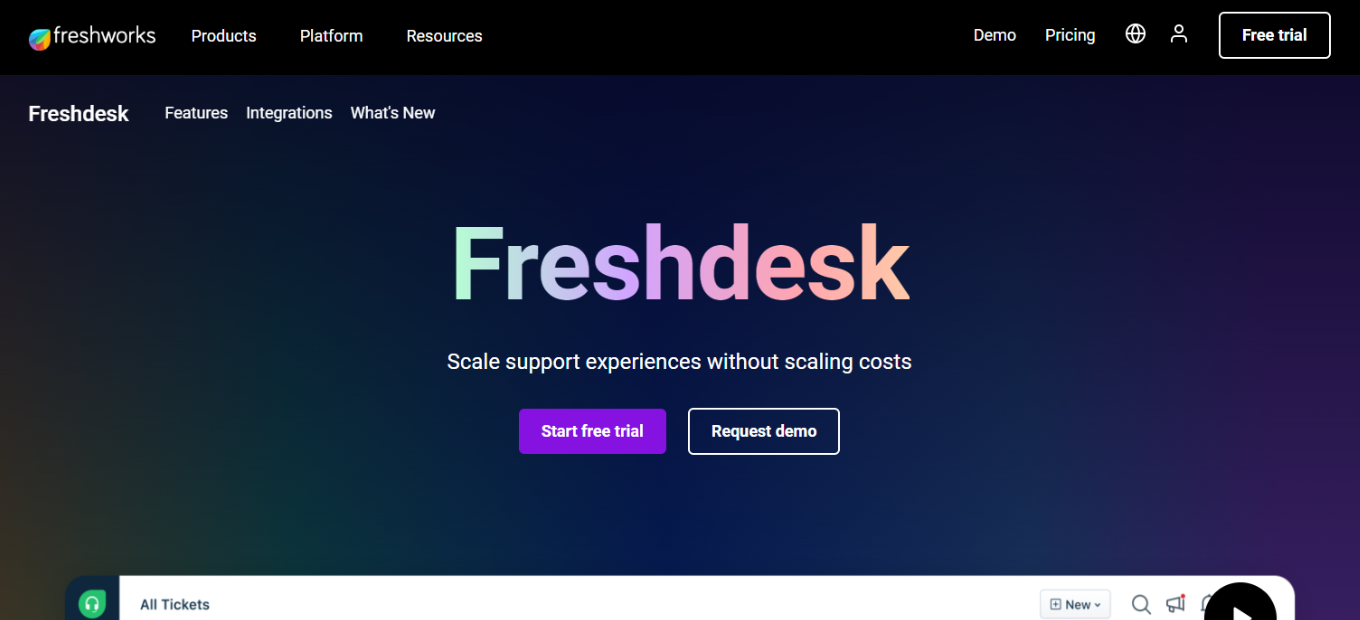
Freshdesk: Streamlining Customer Service with Seamless Integration

Our Verdict πŸ’¬

Freshdesk excels as a customer service tool, blending advanced functionalities with ease of use. Its diverse features cater to a variety of business needs, making it a versatile choice for enhancing customer service operations.

βœ… Pros & ❌ Cons πŸ“Š

Pros:

  • Freshdesk’s integration across multiple channels guarantees a uniform customer experience.
  • The platform’s robust automation and AI streamline customer service, enhancing efficiency and satisfaction.

Cons:

  • Access to premium features can be costly, potentially stretching the budgets of smaller companies.
  • Limited customization in basic plans may not suffice for businesses seeking highly personalized solutions.

About Freshdesk πŸ“˜

Freshdesk has consistently delivered quality in customer support software since 2010. Its commitment to innovation and user experience has established it as a leader in the field, offering a range of tools for streamlined customer interactions.

What’s In It For You? 🌟

Leveraging Freshdesk can revolutionize the way businesses interact with customers. Its integrated ticketing system, live chat options, and self-service portals offer a comprehensive solution for handling customer queries efficiently.

Getting Started with Freshdesk: A Step-by-Step Guide

To start using Freshdesk, you can follow these general steps:

  1. Visit the Freshdesk Website: Go to Freshdesk’s official website.
  2. Sign Up: Look for a sign-up option, which usually involves entering your company details and creating an account.
  3. Customize Your Account: Once signed up, customize your account by setting up your company profile, adding team members, and configuring settings to match your business needs.
  4. Explore Features: Familiarize yourself with Freshdesk’s features like ticketing, customer support, automation, and reporting.
  5. Set Up Integrations: Integrate Freshdesk with other tools and services you use.
  6. Start Using: Begin using Freshdesk for your customer support needs, creating tickets, responding to customer inquiries, etc.

For detailed instructions and features, it’s best to refer directly to Freshdesk’s website and their user guides or support resources.

Freshdesk Pricing Plans Overview

Freshdesk offers a range of plans tailored to different business needs, focusing on omnichannel customer support:

  • Growth Omnichannel: Ideal for smaller businesses, featuring basic omnichannel support capabilities, bot sessions, and a user-friendly chatbot builder.
  • Pro Omnichannel: Targeted at medium businesses, this plan includes more advanced features like WhatsApp Business, Apple Business chat, enhanced bot sessions, and customer timeline insights.
  • Enterprise Omnichannel: Designed for large enterprises, offering the most comprehensive set of features including high bot session limits, Omniroute for streamlined team management, and sophisticated AI and voice bots.

Additionally, Freshdesk provides valuable add-ons like Freddy Ultimate for AI-driven automation and Field Service Management for efficient appointment and schedule management.

Competition: Freshdesk vs Zendesk βš–οΈ

Freshdesk:

  • Offers an intuitive and easy-to-navigate interface.
  • Attractive for its cost-effective solutions, especially beneficial for smaller businesses.

Zendesk:

  • Recognized for a wide range of features catering to complex customer service needs.
  • Ideal for businesses looking for scalable solutions and extensive integrations.

Conclusion 🏁

Freshdesk stands out as an exceptional customer support tool, offering a range of features that simplify and enhance customer interactions. Its adaptability to different business sizes and needs makes it a recommended choice for those looking to upgrade their customer service experience.

“Empowering Connections, Simplifying Support – Freshdesk”

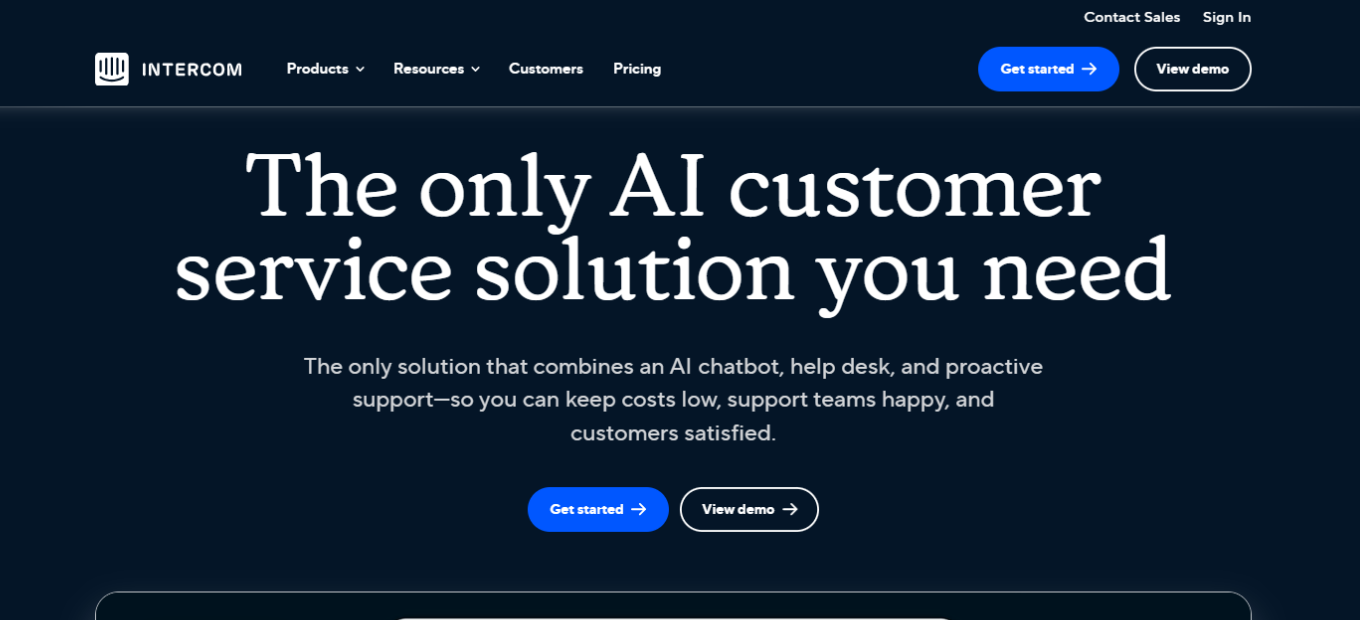
Intercom: Revolutionizing Customer Communication

βš–οΈ Our Verdict on Intercom

Intercom is a trailblazer in the realm of customer communication platforms, offering an innovative blend of live chat, automated messaging, and customer support functionalities. It stands out for its user-friendly interface and robust integration capabilities, making it a top choice for businesses focused on enhancing customer engagement and support.

Pros & Cons

Pros:

  • πŸ’¬ Dynamic live chat and automated messaging features.
  • πŸ€– Advanced AI-driven customer interaction tools.
  • πŸ”„ Seamless integrations with various third-party applications.
  • πŸ“Š Detailed analytics and customer insights.
  • πŸ“± Mobile-friendly interface for on-the-go customer engagement.

Cons:

  • πŸ’΅ Higher cost compared to some competitors.
  • 🧩 Can be complex to set up and customize for specific needs.
  • πŸ“š Steep learning curve for new users.

About Intercom

Intercom is a cutting-edge platform that reshapes how businesses interact with their customers. With a focus on personalized communication, it provides tools for live chat, automated messaging, and customer support, all in an integrated, easy-to-use interface.

What’s In It For You?

Intercom’s key offerings include:

  • πŸ“ž Live Chat: Real-time customer conversations for instant support and sales.
  • πŸ€– Automated Messaging: AI-driven messaging for efficient customer engagement.
  • πŸ“ˆ Customer Support Ticketing: Organized and effective handling of customer inquiries.

Starting with Intercom: A Step-by-Step Guide

  1. Visit the Intercom Website: Go to Intercom’s website and explore the various features and solutions offered.
  2. Choose a Plan: Select the pricing plan that best suits your business needs. Intercom offers different plans tailored for various business sizes and requirements.
  3. Create an Account: Sign up for an account by providing your business information, including your name, email, and company details.
  4. Install Intercom on Your Website: Follow the instructions to embed Intercom’s chat widget on your website. This typically involves copying a code snippet into your website’s HTML.
  5. Configure Your Settings: Set up your messenger by customizing its appearance, creating greeting messages, and setting up automated responses.
  6. Create Teams and Assign Roles: Organize your staff into teams within Intercom, such as support or sales teams, and assign roles and permissions to each team member.
  7. Integrate with Other Tools: Connect Intercom with other tools and platforms you use, like CRM systems, email services, and social media platforms, to streamline your workflow.
  8. Train Your Team: Educate your team on how to use Intercom effectively. Utilize Intercom’s resources, such as guides and tutorials, to help with training.
  9. Launch and Test: Go live with Intercom on your website and test the setup to ensure everything is working correctly.
  10. Monitor and Optimize: Regularly monitor interactions and use the analytics provided by Intercom to make data-driven decisions to optimize your customer communication strategy.

Following these steps will help you efficiently set up and start using Intercom to enhance your business’s customer communication and support.

Intercom Pricing Overview πŸŒπŸ’²

Intercom offers AI-powered customer service in all its plans, catering to different business sizes and needs:

  1. Essential Plan – $39 per Seat/Month
    • Targeted at individuals, startups, and small businesses.
    • Features: Shared inbox, Fin AI Compose, basic automation, Fin AI Chatbot, public help center, proactive support, ticketing system, unlimited articles.
  2. Advanced Plan (Recommended) – $99 per Seat/Month
    • Ideal for growing support teams needing powerful automation tools and AI features.
    • Additional Features: Fin AI Autofill, tickets portal, side conversations, private and multilingual help centers, team inboxes, Fin AI Summarize, workflows for advanced automation.
  3. Expert Plan – $139 per Seat/Month
    • Designed for large support teams requiring collaboration, security, and reporting tools.
    • Additional Features: Multiple help centers, single sign-on, workload management, real-time dashboard, multibrand messenger.
  4. Proactive Support Plus Upgrade
    • Offers product tours, checklists, surveys, and more for advanced engagement.
    • Pricing: Starts from $499/month.

These plans provide scalable options to accommodate a range of business requirements, from basic customer support to advanced, AI-driven customer engagement solution.

Intercom vs. Zendesk

Intercom’s strengths:

  • πŸš€ Innovative approach to customer messaging and engagement.
  • 🧠 AI-enhanced communication tools for better customer interaction.
  • πŸ‘₯ Focused on creating personalized customer experiences.

Zendesk’s strengths:

  • 🌐 Comprehensive customer support and ticketing system.
  • πŸ“š Extensive knowledge base and community support.
  • πŸ’» More traditional approach to customer service and engagement.